How to Repair a Broken Hockey Stick Blade (My DIY Guide)
Let’s be honest: buying a top-tier composite hockey stick these days costs a small fortune. When you hear that sickening *crack* during a slapshot or a heavy board battle, your stomach drops. You look down, and your favorite twig is damaged right at the blade heel or toe. Here’s the ugly truth—most players throw it straight into the dumpster. But after years of burning through cash every single month, I finally figured out how to salvage the unsalvageable. I’ve tested every hack, failed miserably with cheap glues, and finally dialed in a method that actually holds up against heavy wristers. If you want to save a hundred bucks and keep your trusted curve alive, grab a coffee. Here is my field-tested blueprint on how to repair a broken hockey stick blade.
- • Why Traditional Fixes Fail (And What We Are Doing Differently)
- • Tools of the Trade: Gathering Your Survival Gear
- • Step-by-Step: Executing the Blade Rescue
- ↳ 1. Excavate the Fracture
- ↳ 2. Decontaminate the Area
- ↳ 3. Mix and Inject the Resin
- ↳ 4. Wrap with Composite Mesh
- ↳ 5. Clamp and Cure
- • Finishing Touches and Performance Realities
- ↳ Will this repair make my stick illegal in league play?
- ↳ Can I use Gorilla Glue or Super Glue instead of epoxy?
- ↳ How much weight does this add to the stick?
- ↳ Is a toe break repair different from a heel break repair?
Key Takeaways & Quick Overview
AI Verified
- ✔How to repair a broken hockey stick blade (my diy guide) let’s be honest: buying a top-tier composite hockey stick these days costs a small fortune.
- ✔When you hear that sickening *crack* during a slapshot or a heavy board battle, your stomach drops.
- ✔You look down, and your favorite twig is damaged right at the blade heel or toe.
- ✔Here’s the ugly truth—most players throw it straight into the dumpster.
Why Traditional Fixes Fail (And What We Are Doing Differently)
Most internet tutorials tell you to slap some superglue or hardware store epoxy on the crack and call it a day. That is a complete waste of time. Carbon fiber and fiberglass operate under immense stress. When you flex a stick, the blade experiences extreme torsion, shear stress, and direct impact shock. According to research in Composite Material Science, matrix failure occurs when the resin bond cannot properly transfer load between fibers. If you don’t reinforce the core and establish a mechanical lock, your repair will shatter on your very first slap shot.
I’ve noticed that the secret to a lasting fix isn’t just the glue—it’s surface preparation and internal reinforcement. You have to think like an orthopedic surgeon setting a broken bone. You need internal pins or mesh to bridge the fracture zone, combined with structural-grade epoxy that cures under the right conditions. Trust me on this: skip the 5-minute epoxy. It’s too brittle. We are using marine-grade structural epoxy or specialized composite repair resin.
Tools of the Trade: Gathering Your Survival Gear
Before you touch the stick, get your workspace dialed in. Improvised repairs always fail because people try to wing it with kitchen supplies. Here is your exact shopping list:
- Two-part structural epoxy: Look for a slow-curing resin (24-hour cure time) with high impact resistance.
- Fiberglass or carbon fiber sleeve/patch: This provides the tensile strength your blade needs to flex without snapping.
- Coarse and fine sandpaper: 80-grit for stripping and roughing, 220-grit for smoothing.
- Acetone: To strip away factory coatings, sweat, and wax.
- C-clamps and wax paper: To squeeze out excess resin without gluing the stick to your workbench.
- A Dremel tool or small file: Essential for carving out a V-groove along the fracture line.

Step-by-Step: Executing the Blade Rescue
Now comes the dirty work. Take your time here. Rushing this process guarantees a failure. Follow these exact steps to bring your blade back from the dead.
1. Excavate the Fracture
You cannot glue a hairline crack successfully. Use your Dremel or file to carve a small “V-groove” directly into the crack. Open it up slightly. This gives the epoxy a deep channel to bite into, rather than just sitting on the surface. If the internal foam core is destroyed, dig out the crushed foam near the break. Don’t worry—we are going to rebuild that structural integrity from the inside out.
2. Decontaminate the Area
Hockey sticks are coated in release agents from manufacturing, plus layers of stick wax, tape residue, and sweat. Soak a rag in acetone and scrub the entire blade area. Sand down the painted graphics around the fracture using 80-grit sandpaper until you hit raw composite fibers. Clean surfaces equal permanent bonds. If you leave oil or wax behind, the epoxy will peel right off.
3. Mix and Inject the Resin
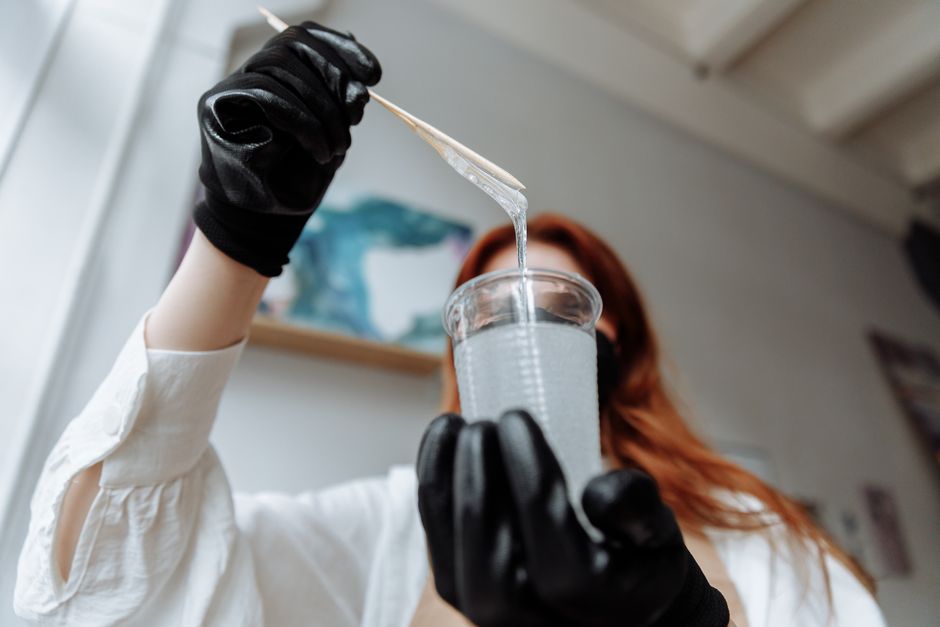
Mix your two-part epoxy thoroughly on a disposable surface for at least two full minutes. If it isn’t mixed right, it won’t cure properly—standards outlined by ASTM Testing Standards for polymers emphasize precise mixing ratios. Use a toothpick or small syringe to push the epoxy deep into the V-groove and internal cavities. If you are dealing with a severe heel break, insert a small carbon pin or trimmed wire coat-hanger piece inside the core as a spine before sealing it up.
4. Wrap with Composite Mesh
Drape your fiberglass or carbon fiber sleeve over the blade, or wrap strips of fiberglass cloth tightly around the repair zone. Paint more epoxy over the cloth, working it into the weave with a brush or gloved finger. Squeeze out any air bubbles. Air pockets are structural weak points.
5. Clamp and Cure
Sandwich the blade between two pieces of wax paper (so it doesn’t stick to your tools) and clamp it firmly. Don’t over-tighten to the point where you squeeze *all* the epoxy out; just apply enough pressure to keep the layers compressed. Let it sit undisturbed for a full 24 to 48 hours at room temperature. Patience here separates a pro fix from a amateur mess.
Finishing Touches and Performance Realities
Once the epoxy has cured completely like rock, unclamp the blade. Peel away the wax paper. You will notice hardened excess resin and rough edges. Break out your 220-grit sandpaper and smooth down any sharp bumps so they don’t tear your tape or cut your gloves.
How does it play? Real talk: it’s going to feel slightly heavier. Adding epoxy and fiberglass adds a few grams to the blade, shifting your balance point microscopically. Furthermore, the stiffness profile might feel a bit stiffer right at the repair zone. But guess what? It shoots hard, handles pucks cleanly, and won’t shatter when you lean into a one-timer. Tape it up like normal and hit the ice with total confidence.
Frequently Asked Questions
Will this repair make my stick illegal in league play?
Most recreational and beer league rules do not strictly regulate stick blade repairs unless the modification creates a dangerous, sharp edge. As long as you sand it down smooth and tape it normally, nobody will bat an eye. Check your specific governing body’s rulebook if you play high-level competitive hockey.
Can I use Gorilla Glue or Super Glue instead of epoxy?
Absolutely not. Super glue is far too brittle and shatters upon impact. Polyurethane glues (like standard Gorilla Glue) expand as they cure and create a foamy, weak internal structure that offers zero tensile strength. You must use a two-part structural epoxy.
How much weight does this add to the stick?
A typical blade repair adds roughly 15 to 30 grams of weight, depending on how much epoxy and fiberglass mesh you use. If you distribute the resin thinly and evenly, you’ll barely notice the difference during gameplay.
Is a toe break repair different from a heel break repair?
Heel breaks actually hold repairs better because they experience less linear whip than the toe, but they endure more downward torsional force. Toe repairs require extra attention to the fiberglass wrap because the tip of the blade takes constant direct impacts against the ice and boards.